Anne-Marie Brunet, CMKBD, CAPS
If you’re fortunate enough to be building a new home there are three crucial elements you need to consider, and include, when planning your window coverings.
Yes, you need to start planning your window coverings at the building planning stage—not when your home is built, otherwise you may be surprised and disappointed by the limitations of your new windows.
1. Blocking: What is it and Why You Need It
Blocking gets overlooked almost all of the time on new construction or remodel projects unless you’re working with a seasoned designer. It is something that we always spec on our projects for both new construction and renovations.
‘Blocking’—as it’s referred to in the trade—is a solid piece of wood (either 2×8, 2×10, or plywood) that is installed wherever we need to secure hardware. Hardware could be drapery hardware, grab bars for bathrooms, a heavy piece of art, or anything that needs stability and support and that would not normally hold in regular drywall.
What about the header? A header is always placed at the top of a door or window and is essential to carry the load across the opening back down to the floor.
Below is a typical wall framing with the header just underneath the top plates, and this is the better scenario we like to see on the initial walk-through. Lots of wood is used to support most of the hardware.
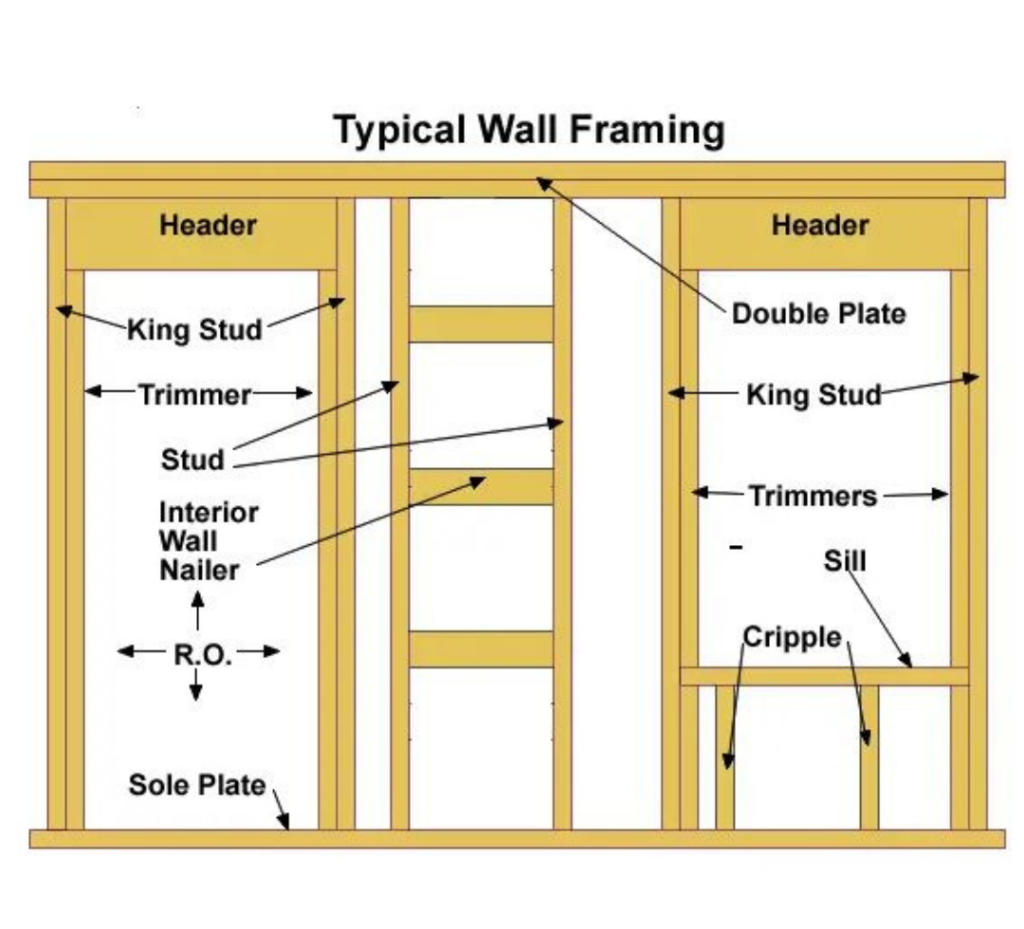
I would request additional blocking on either side of the opening, and the same height as the header. Why? Because beautiful and well-planned drapery doesn’t stop at the window casing. Beautiful window coverings should always extend past the casing, in which case we need extra support to secure the drapery hardware.
In today’s construction and with the demand for higher ceilings the framing diagram below is what you will typically see. The header is directly above the window (typical) and they fill in with ‘cripples’ above it to the top plate, and below it to the sole or sill plate.
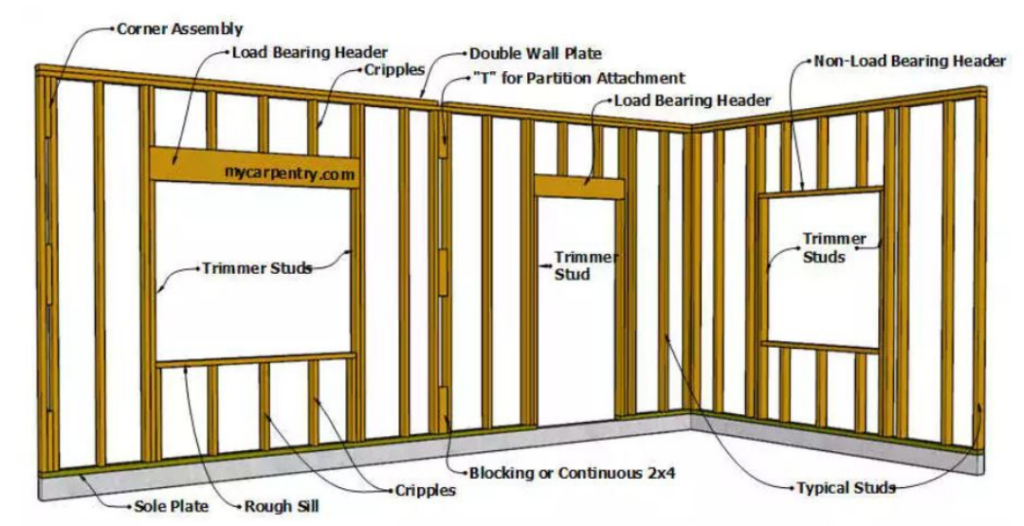
Why am I calling this out as a problem? Because there is nowhere to secure any hardware. You cannot guarantee that the drapery hardware will catch a stud since the stud spacing never works out to where the drapery will go.
You cannot hang drapery hardware on drywall—period. Your drapery and hardware will end up on the floor after a couple of tugs to close.
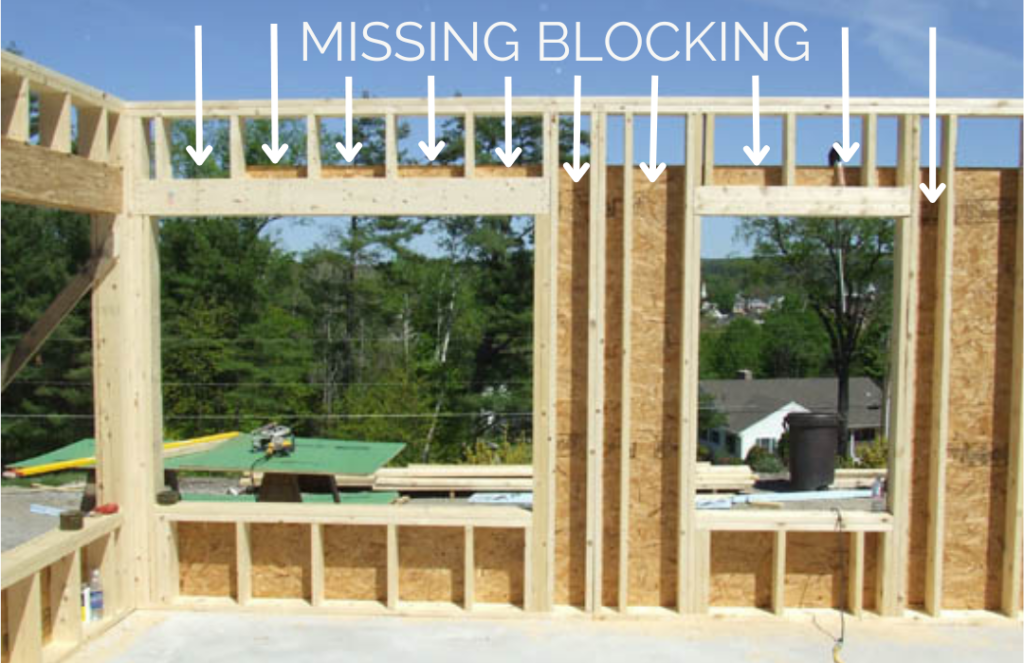
In the image above you can see that there is no additional blocking above or on either side of the windows. The arrows show where you would need blocking.
On our projects, we would request to add another 8”-12” above the header, and hopefully to the top plate, and at least 8-12” beyond window frame on either side.
Above the window will give you the flexibility of installing your drapery anywhere between the casing and ceiling. Closer to the ceiling is always more luxurious and elegant.
On either side will allow your drapery to sit off the window a bit more, whether it’s stationary panels or a functioning drapery treatment.
2. Use of Anchors
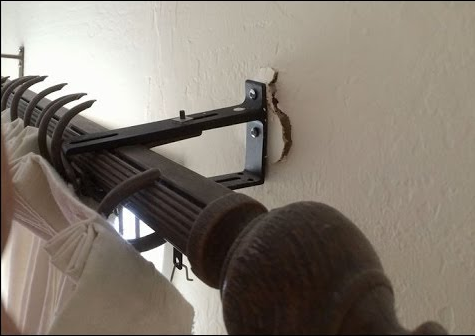
‘Use anchors’ they say. Yes, I’ve heard this countless times from those trying to take shortcuts. Anchors are not always sufficient to support hardware and the weight of drapery, depending on the type of treatment you are planning. If not secured properly, believe me, the hardware will pull out of the wall and your window treatment will fall down!
It happened to us on one particular installation. It was a beautifully layered, functional, window treatment that the client insisted we put up even though we’d voiced our objection to not having anything solid to attach to, and that anchors might not hold. We put in anchors—of course—and as fate would have it, we got a call a week later that the drapery and rods had pulled out of the wall! OMG!
Thankfully no one was hurt and they didn’t have little kids running around. Suffice it to say that we will not compromise on this EVER again.
If you want functional and decorative window treatments in your new home, you need to plan for the ‘behind the scenes’ ahead of time and insist that your contractor add the necessary blocking above and on either side of your windows. This shouldn’t cost you any more money as there are many cutoff pieces of lumber that go to waste on a job site.
3. Window Jamb Depth
What do your actual windows have to do with draperies or window treatments? Lots! If you’re fortunate enough to not have any neighbors and don’t need privacy, or you have lots of roof overhangs or a porch to not have to worry about the sun’s UV rays, you can stop reading.
But if these scenarios do not apply to you you’re probably going to want to put something in your windows for protection, privacy, and for decor.
Window jamb depth is important when planning not only your home’s architectural style but also what type of window coverings you want to accommodate: blinds, shades, drapery, and multi-layered treatment.
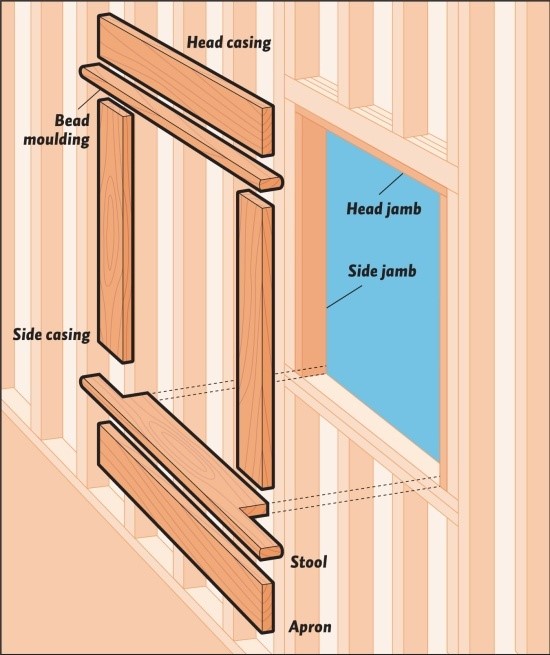
In new construction, you’ll want a minimum 3” – 4” jamb depth to accommodate today’s blinds and shades for an inside mount installation. More than 4” is even better to give you the flexibility in locating one treatment or installing a layered treatment.
Some of the newer blind cassettes (the top piece the blind rolls up into) can be bulky, and depending on the construction of your actual window you’ll need some flexibility in where to locate the blind within the jamb.
You don’t want the blind so close to your window that you can’t take the screen out, nor do you want the cassette protruding past the window frame. It ruins the interior design and draws attention away from the window’s architectural millwork.
Inside mount is our preferred installation type, and it supports both contemporary and traditional design. Some contemporary interiors are planned without any trim moulding around windows, which gives you a sleek flush fit to the drywall.
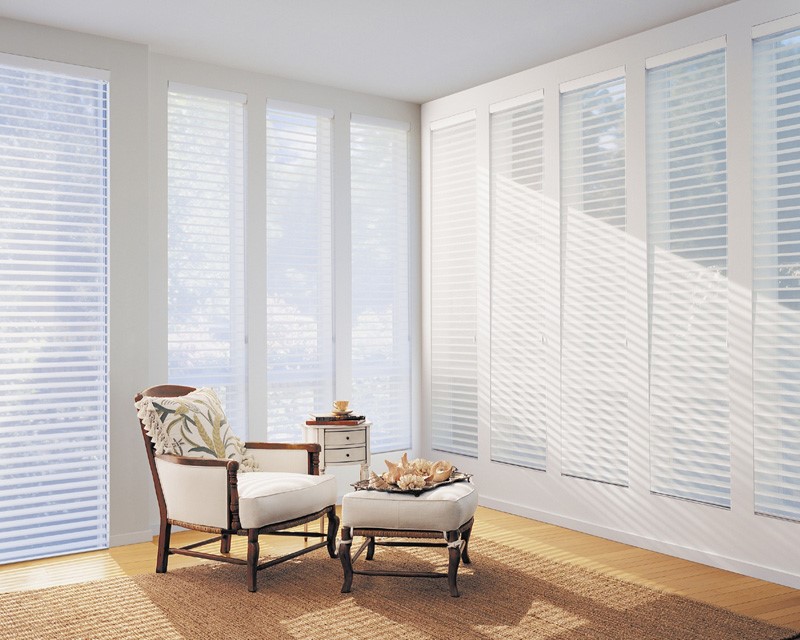
Inside mount is perfect for traditional interiors so that you don’t cover up those beautiful mouldings you spent so much money on.
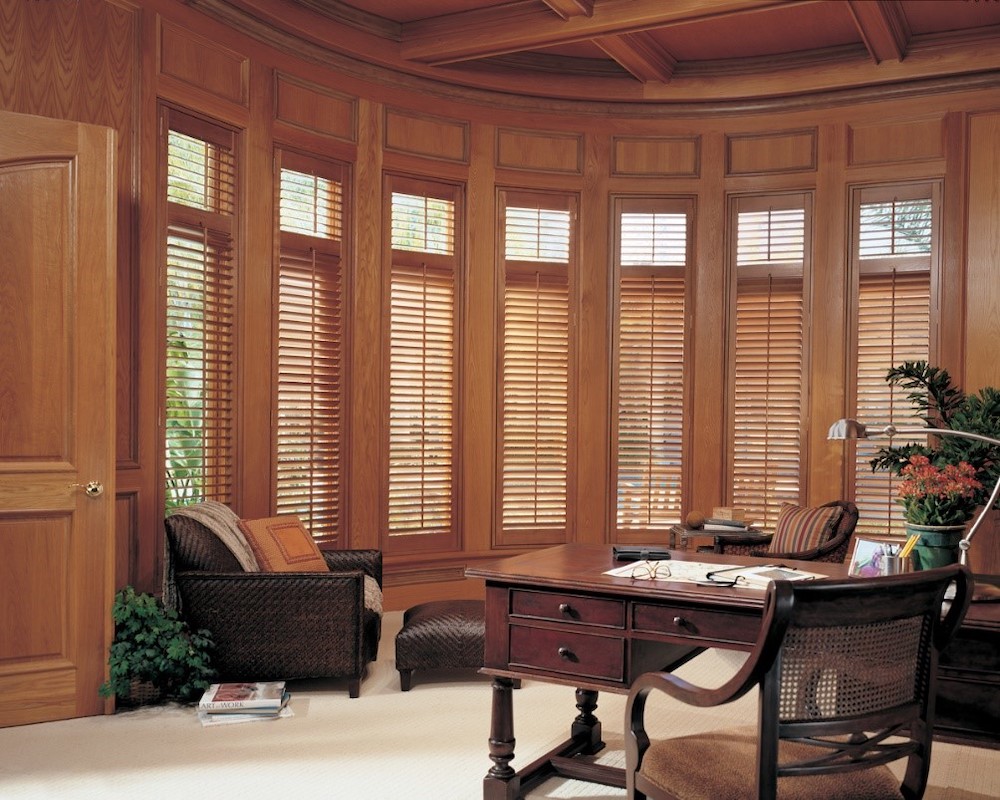
Window construction type (e.g. vinyl or wood) will also have an impact on window treatment installation. You should always discuss your window covering plans with your interior designer and window supplier before ordering your windows.
Motorized shades and window treatments also benefit from deeper jambs to accommodate wiring, motors, and receivers—but that’s a whole other topic for another blog post.
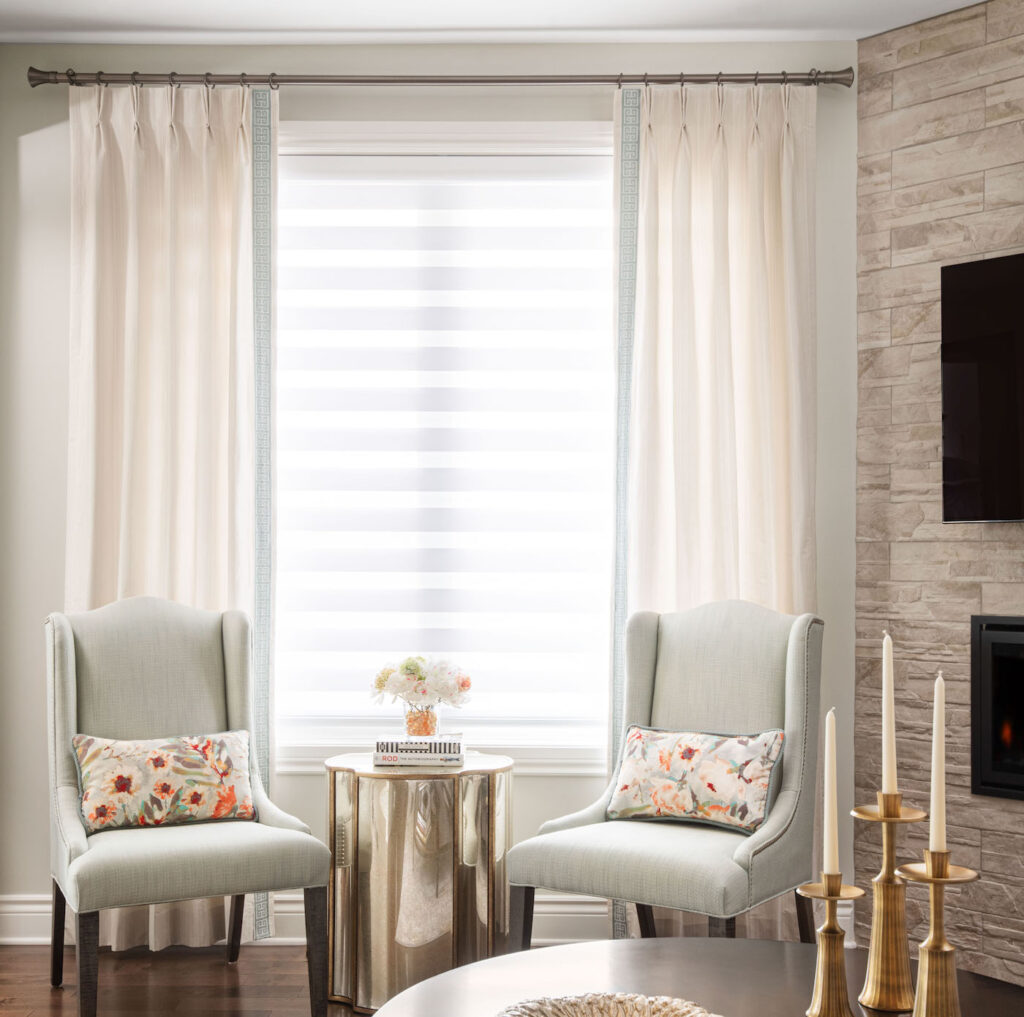
Our years of experience designing and installing beautiful window treatments and knowledge of construction allow us to catch deficiencies early in the construction or reno process.
We can provide you with a safe and perfectly- executed window treatment installation and beautiful draperies. Ready to get started? Begin here.

